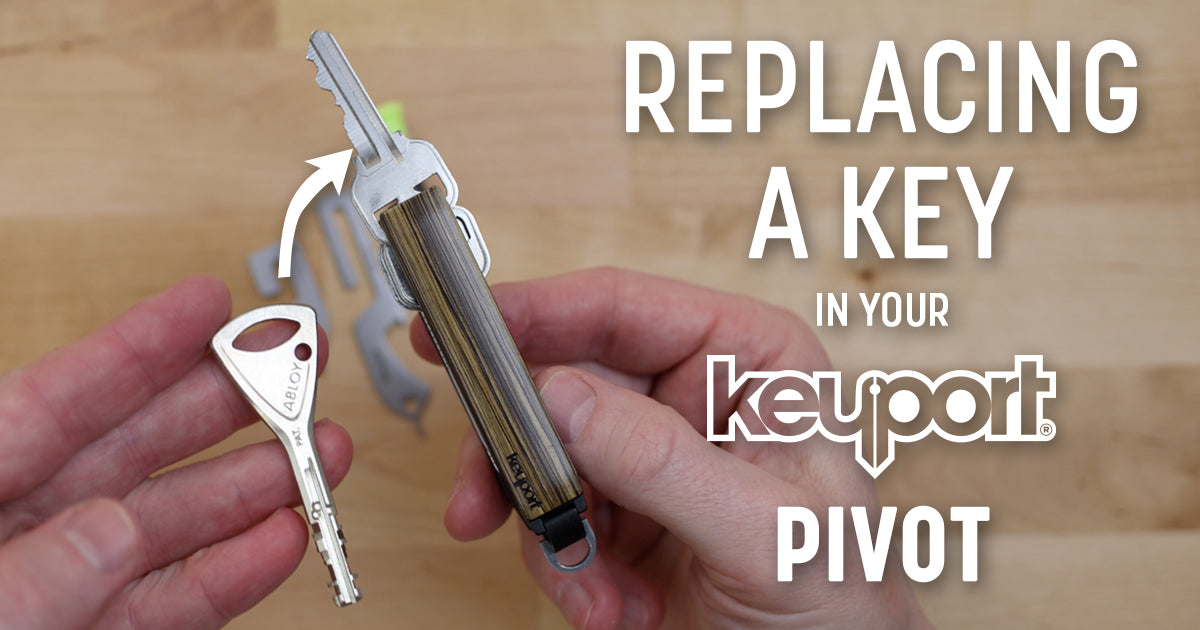
Keyport Pivot 2.0 Assembly Instructions
Setting up your Keyport Pivot 2.0 is simple. This video shows all the tips for getting the most out of its unique features like the anti-rotation pin, KeyportID, and optional modular add-ons.
Keyport Pivot 2.0 Assembly Instructions
Congratulations on your new Keyport Pivot 2.0! This step-by-step guide will help you assemble and customize your modular key organizer effortlessly. Whether you’re a DIY enthusiast or an EDC newbie, this guide has everything you need to make the most of your Pivot.
How to Assemble the Keyport Pivot 2.0
Step 1: Get Familiar with the Components
Unbox your Keyport Pivot 2.0 and lay everything out. Here’s what you’ll find:
- Male pin and female pin
- Pre-installed spring washer (important—don’t remove it!)
- Keyport ID card
- Spacers for adjusting stack height
- Optional add-ons or modules (if purchased)
Pro Tip: Keep the spring washer in place—it’s the secret sauce that keeps your keys snug and secure.
Step 2: Remove the Male Pin
Hold the female pin on the back with your index finger to keep it steady, then unscrew the male pin with your other hand. Once removed, lay the chassis flat on a table.
No tools yet? No problem. You can use a coin or the RuSH Tool to make setup and module removal even easier.
Step 3: Build Your Perfect Stack
Decide what you want to carry. Keys? Tools? Modules? Mix it up!
If your stack has fewer than 3 items, use spacers to reach at least one key or spacer height above the female pin. This step is critical and ensures the ratcheting mechanism works its magic.
Start your stack with the KeyportID card. Why? It protects the chassis and helps you recover your Pivot if it’s ever lost. (Just register your serial number at mykeyport.com/id). For more information, check out the exclusive KeyportID Lost & Found service that comes free for two years with the purchase of a Keyport Pivot or Slide.
Step 4: Assemble Your Pivot
1. Align your keys, tools, and spacers with the holes on the female pin.
2. Place the second half of the chassis on top, making sure everything lines up.
3. Insert the male pin and tighten it by hand.
Step 5: Lock It In
Grab a coin (a penny works best) or the RuSH Tool and tighten the male pin. You’ll hear a satisfying “click” every 90 degrees—this is the ratcheting mechanism locking your stack securely in place. Adjust tightness so the keys rotate smoothly but stay firm.
Perfect! Your Keyport Pivot is now assembled and ready to go.
Customize Your Keyport Pivot 2.0
Add-on Magic: Snap-on Modules
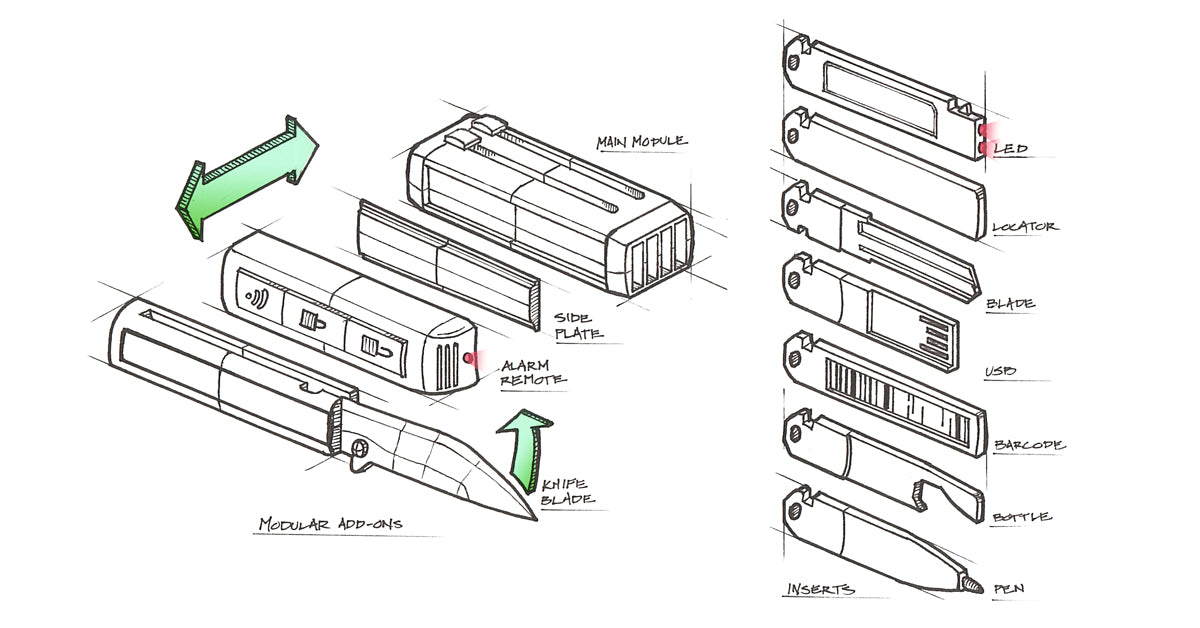
Take your Pivot to the next level with Keyport’s modular system. Attach accessories like:
- Pocket Flare Mini-Flashlight: Lights your way in style.
- NEBA Knife: Compact yet powerful for everyday tasks.
-
MOCA 10-in-1 Multi-Tool: Handles everything from opening bottles to turning screws.
To attach a module, align its spring steel feet with the side holes on the Pivot and press until you hear it snap into place. Want to swap it out? Use the RuSH Tool for easy, damage-free removal.
Get Creative with the D-Ring
The Pivot comes with a beefy D-ring, perfect for attaching your auto fob, paracord pulls, or a carabiner. Use it to personalize your setup even more.
Why the Spring Washer is Essential
Let’s talk about the spring washer—it’s the tiny hero of the Keyport Pivot. It:
- Keeps the ratcheting mechanism working smoothly.
- Prevents keys and tools from accidentally rotating out of place.
Warning: Don’t remove or lose the spring washer. Without it, your Pivot just won’t work as intended.
Frequently Asked Questions (FAQs): Pivot 2.0 Setup & Assembly
1. Do I need spacers for a small stack?
Yes, if your stack is fewer than 3 items, spacers ensure the height reaches one key or spacer above the female pin for proper compression.
2. What’s the point of the Keyport ID card?
It helps recover your Pivot if it’s lost. Learn more about KeyportID Lost & Found and register it at mykeyport.com/id.
3. How do I attach and remove modules?
Snap modules into place by aligning their spring steel feet with the Pivot’s side holes. To remove them, use the RuSH Tool or another pointy tool like a small screwdriver for safe and easy detachment.
4. Can I adjust the tightness after assembly?
Absolutely. Use a coin or the RuSH Tool to tweak the male pin until it feels just right.
5. What tools can I include in the Pivot?
Popular choices include the Pocket Flare Mini-Flashlight, NEBA Knife, MOCA Multi-Tool, and Popl x Keyport Digital ME Key e-business card, all available in the Keyport Store.
Discover More
Explore Keyport’s Full Range of Tools
Take your EDC game to the next level. Visit Keyport for the most versatile key organizer multi-tools on the planet!
Learn More with Additional Guides
Need more tips and tricks? Check out the Keyport How-to Guides for expert advice and inspiration.

